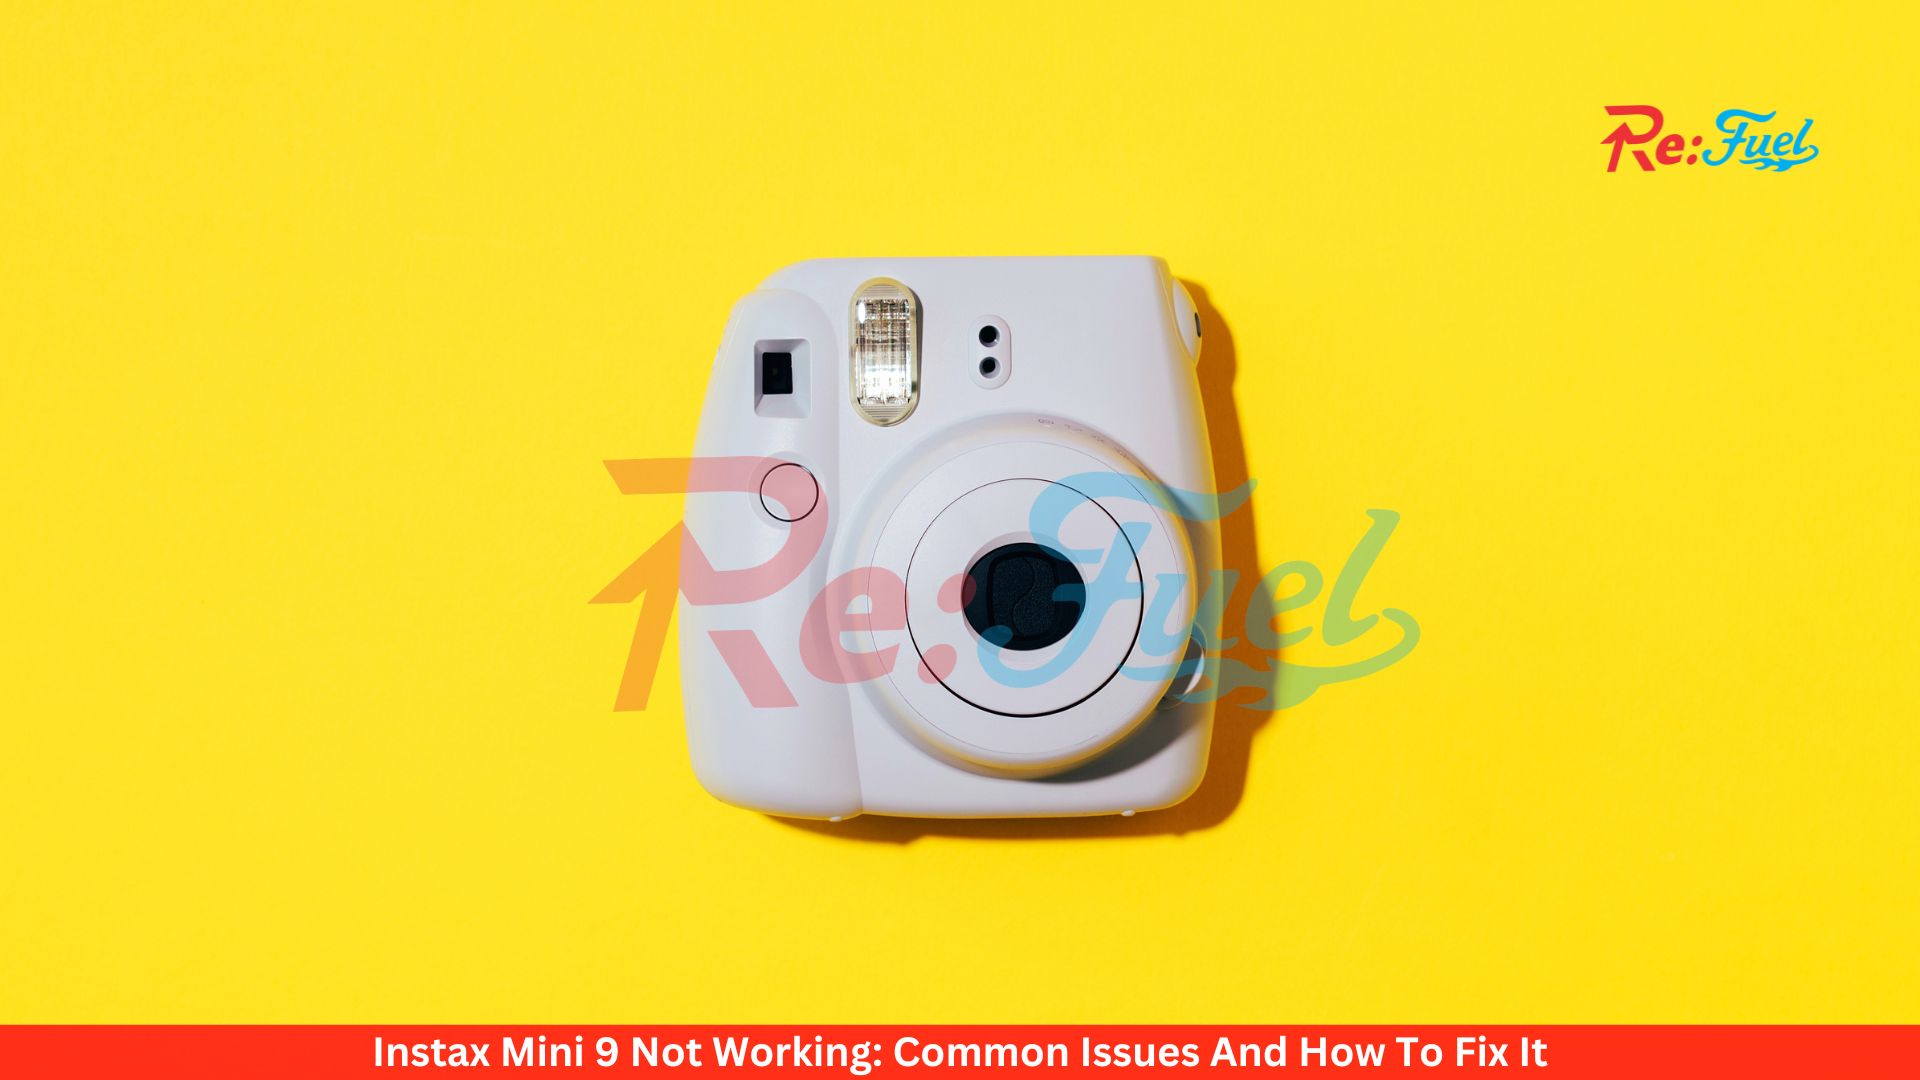
Capturing and preserving memories is important to all of us. This is why instant cameras like the Fujifilm Instax Mini 9 have gained so much popularity. With its unique features, Instax Mini 9 has become a hit among photography enthusiasts. However, like any electronic device, it is prone to malfunctions and technical issues. If you are experiencing any difficulties with your Instax Mini 9 camera, don’t worry, as we have compiled some tips and tricks to help you troubleshoot and fix the issues.
Common Issues With Instax Mini 9
The following are the most common issues that users face when using Instax Mini 9:
The Batteries are Dead or Dying: The most common cause of Instax Mini 9 not working is dead or dying batteries. It is essential to keep track of the number of batteries used and replace them when required.
The Film was Damaged or Loaded Incorrectly: It is important to load the film correctly to ensure it is not damaged or loaded incorrectly. It is also essential to store the film correctly in a cool, dry place.
You are too Close to your Subject: Instax Mini 9 is not designed to capture pictures when you are too close to your subject. It is recommended to maintain a distance of at least two feet between the camera and the subject.

The Camera needs a good Clean: Dust and dirt can accumulate on the camera lens, which can affect the quality of the pictures. It is important to keep the camera clean to avoid such issues.
The Camera was Dropped or Knocked: If the camera is dropped or knocked, it can cause significant damage, affecting its functionality.
Also read: What Is The BORG Drinking Challenge On TikTok?
How To Fix Instax Mini 9 Not Working?
If you are experiencing issues with your Instax Mini 9, the following tips can help you troubleshoot and fix the problems:
- Check the batteries: Make sure the battery compartment is properly charged with 2xAA batteries and that they are inserted correctly.
- Release the lens: If the lens is stuck, try releasing it by extending the switch until you can see an opening behind the lens. This should cause the lens to pop out.
- Check the film slot: If the film slot is blocked, try using a different film cartridge or removing any blockages or dust from the ejection slot. Avoid damaging the film by handling it gently and avoiding excessive pressure or sunlight exposure.
- Check the film: Always check that there is a film in the holder before taking a photo.
- Open the lens: If the lens fails to open, try using the correct eject button at the bottom right of the camera. Make sure nothing is blocking the lens before ejecting or retracting it.
- Clean the viewfinder: Keep the viewfinder clean to ensure a clear image preview. Use a soft microfiber cloth to remove any dirt or debris.
- Check the flash unit: To fix issues with the flash unit, check that the flashbulb is undamaged and that the internal flash capacitor has enough charge. If not, replace the capacitor.

Also read: What is Netflix Error Code S7111-1331 And How To Fix It?
How to Reset Instax Mini 9?
Resetting the Instax Mini 9 is a simple process. Follow the steps below to reset your camera:
- Turn off the camera.
- Open the battery compartment door on the side of the camera to find a small red button inside, which is the reset button.
- Press and hold onto the button for three seconds.
- Close the battery compartment door and turn the camera on.
- Take a test photo to see if everything is working properly.
If the above steps do not resolve your issue, it is recommended to contact an authorized service center to get your camera fixed.

